Mechanical properties
Precise measurement of dimensions
Dimensional accuracy is the next from the monitored parameters of both the permanent magnets and the products with them. To verify this accuracy, we use calibrated slide gauges and the coordinate measuring machine. Thanks to the ZEISS coordinate measuring machine, we successfully deliver the permanent magnets for extremely accurate applications in the aerospace industry that requires the dimensional accuracy in thousandths of a millimetre.
Strength tests
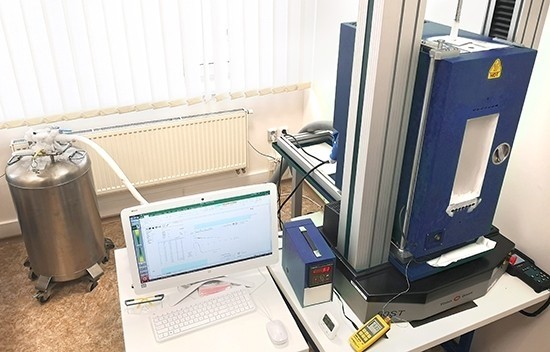
Mechanical parameters of the permanent magnets are not parameters monitored on a regular basis. However, our experiences imply that they matter as well. We perform the bend tests of the permanent magnets using the breaking machine and compare the measured values with productions batches.
Bonded joint tests
Within the framework of our research projects, we also focused on points at issue of bonding the permanent magnets and influence of their coatings on a bonded joint. We perform the bonded joint tests according to procedures given in standards ISO 13445 and EN 1465. However, as far as the actual tests with bonded magnets are concerned, it was necessary to develop our own methods based on the standardized procedures.
Our testing machine is equipped with a heating chamber with the working range from -70°C to +300°C. We use it over its full range within the framework of our as well as customer tests.

We perform the following tests:
- Precise measurement of dimensions using the coordinate measuring machine (CMM)
- Bend strength tests up to 1 ton (ČSN EN ISO 3327, ČSN EN 843-1, ČSN EN ISO 7438)
- Tensile strength tests up to 5 tons (ČSN EN ISO 6892-1, 6892-2, 6892-3)
- Compression strength tests up to 3 tons
- Bonded joint strength tests (ISO 13445 and EN 1465)
- Temperature range of tests: -70°C to +300°C
Contact our specialist for more information.


